March 22, 2012

Redesigning a wig


I haven’t styled too many wigs during my cosplay career. Years ago I somehow came to a conclusion that it was difficult, messy and altogether a long process. It became something I consciously avoided…until recently. After styling two wigs in one week with major style change, I can finally trash my prejudices. It’s not hard and it doesn’t take hours after hours. All that is required is some clean table space and patience. Maybe that is the trick; I might have become more patient. 


First thing was to raid our closet, which somehow has been invaded by costumes and other supplies. I grabbed one of my many second-hand wigs. (Greetings to all the Finnish cosplayers who kindly pass on their old wigs at Aniki!) The wig is nice quality, but pretty thin on the back like some long wigs tend to be. In my case it wasn’t a problem since I was making a short one. I tied the fibers on a ponytail and cut it off to be used as thickening wefts. Since I had still some burgundy fibers left, I mixed them in as highlights.
 
The wefts I made by sewing the fibers on black iron-on interfacing. I hand stitched the wefts on the wig; five rows on the back and four overlapping ones on the front. With that amount I was able to hide the base web, which was ivory. I repeat, ivory on dark purple wig. Someone’s brain has seriously farted.

The back flips and the small top crest I shaped using hairspray and a blow dryer. Following is the process in pictures. I apologize about the varying quality of the photos. I only had my old digital camera with me. But then again you can follow the day turn to night and to the next morning.

Wig in its original length.

Roughtly cut and wefts added on the back.

More wefts and styling started with feathering the ends.

First back flip in making.

Back done.
Shaping the top crest.
Styling complete.

March 18, 2012

Trollolollolol

Well, I didn’t finish the red wig… But I might as well reveal that the costumes we are certainly going to make this year are female trolls from World of Warcraft. They weren’t mentioned in the post where I revolved around costume plans for this year. To be frank, I might as well delete the whole post because the content isn’t anyhow correct anymore. It seems that I’m at work for whole holiday season. So it's no for going to conventions or at least for two days, which means no competitions as they usually are held at Saturdays.

You’d think that I would be a wreck, but I’m not! I’m too excited about our trolls. They are going to be our characters for Tracon’s show competition, if that kind of contest is part of the repertory. Plans changed also on that front, because our original plan was to use characters from Star Wars universe. Not a bad switch, I’d say. Wow characters are certainly more familiar to the audience in roleplay/anime convention and show class gives nice freedom with the costume design and construction.


The construction part offers again new methods and materials. We are going to take our time and hopefully get the costumes in presentable stage in the summer. What I’ve noticed with some Wow cosplayers, the costumes are never really finished. They just keep upgrading, like in the game.

The red wig I presented in the previous entry was mine. Thanks to a nice flow I got going on yesterday evening, Yoki’s wig was finished just few hours ago. As my high tail up-do reached over my shoulders, I decided to make Yoki’s wig short.


It still needs some trimming and styling on the sides, but it has to wait because for that I need Yoki's head. The bone necklace is also something I made yesterday from leftover Das clay. The feathers were the result of an experimental dyeing process with disinfectant... Weird.

March 15, 2012

Blended wefts and high ponytail

I didn’t remember that making wefts was so easy! I really surprised myself with them and with my old wig, which actually has been featured in our blog. Here is the link to my previous post. In short, we dropped the costumes I had planned the wig for. Over a year and a half ago I just shoved the wig into my closet and almost forgot all about it. Until this morning that is, when I looked it up thrilled and motivated to re-style it. I got free day from work and because we had discussed about our costume plans with Yoki last weekend, I decided to start on that front. And this is what I got done today.

Oh, a shovel!

I’m really, really pleased with the wig. I made some blended wefts from the long ponytail I had cut off the wig mixed with burgundy red fibers, also remnants from last decade. I’m not going to write about making wefts, there is many tutorials about them in the web, but I’m going to give a hint to those who find tulle hard to work with. Use iron-on interfacing. Stitch the fibers on the glue side and when you have trimmed the excess carefully iron the interfacing between a piece pattern paper. I fried few fibers, luckily they aren’t visible.

Wefts on base before cutting...

...and after.

Next to making and sewing wefts, I cut the wig so that the extensions blend in. I feathered the wig quite heavily, but made it look chunky, like if it had been cut with a knife. Almost nothing went to waste; what I had cut, I rolled and teased into dreadlocks, which I then attached right back where they came from. The bangs keep their shape thanks to hairspray.


I still need to attach the ponytail properly. When I’ve done that, I will come back and possibly reveal what costume I’m actually making.

February 19, 2012

Sasori and Deidara video update

The adventures of Sasori and Deidara continue. Go check our new video with some morning madness Akatsuki style!

February 16, 2012

Pretty in pink: Ivy's dress and hat

Photographer Anniina Väisänen

It seems that is has been long enough from the WCS preliminaries, or more precisely from the two months of continuous work last summer; I can look at the photos of the costume construction without flashback. So I decided to put together a post from the making of Ivy’s get-up.


The fabrics I used for Ivy’s dress are pale pink polyester satin and lilac cotton satin. After I started to gather the materials in December 2010, I soon realized that finding the right shade of pink would be most certainly impossible. After three months I settled to a pink that wasn’t as rich as in the reference but close enough. The lining is actually the same fabric I used on the gold trimmings. It’s just inside out. And it’s the actually the same as Yoshimitsu’s vest lining, which is two –sided taffeta.


Ivy’s peculiar tailcoat-corset combination was first on my list when I started to draw patterns for the costumes. I can’t recall have I ever struggled with lining as much as I did with it. I had to make few chances to my original plans with having a zipper on the side and making a fake lacing on the back. This was all because of the misguiding two layered look of the garment. The piece of clothing I made is one-piece with lacing on the back and plastic boning on the seams.


There is also boning in the body I’m wearing under the dress. The lace front, which I constructed from tulle and tiny pieces of black lace, is sewn on the body. The body is there to give some piece of mind, since the cut of the dress is rather…high. No flashing because no visible panties. Yes, that’s really a weird reasoning, but somehow makes sense. And I was wearing the tights under to body… Enough with that, every girl cosplayer knows what I’m talking about.


Most time-consuming sewing project along side dress was the rose embroideries, which decorate Ivy’s stockings and veil. The roses took rather long to complete. I could only blame myself, because after trashing the ideas of drawing the figures on the violet stockings with markers, embroidering them on a piece of tulle was next on my list. The other problem with the roses was to attach them to the stockings. Sewing them on didn’t work, because the stockings naturally stretch, but the roses didn’t. Then I realized to slip them between the two stockings that I was wearing! In the morning of the preliminaries! Yay!


I don’t know have I ever mentioned that I love making hats. I do, so Ivy’s cocktail hat was a pleasant task. The hat is made from the same fabric as the dress. The shape is created by cutting petals from sheet foam. I decided to trim the petals with black piping. The black veil I purchased from Belle Modeste. To prevent the hat from falling off my head, I attached it to my wig with clear fishing line.

Photographer Miika Ojamo

I have no idea where I got the stockings. I think I bought about seven pairs of tights before finding suitable ones. The fishnets are probably from Cybershop.

February 14, 2012

Plans, plans... And Valentine's day!

For starters, I would really like to thank everyone who voted our photo on Desucon’s Välähdys- posing competition! And again big thanks to AG, who is responsible of all the photos from Lumiere and Cogsworth. I hope we bump into you at the convention photo booth in future cons!

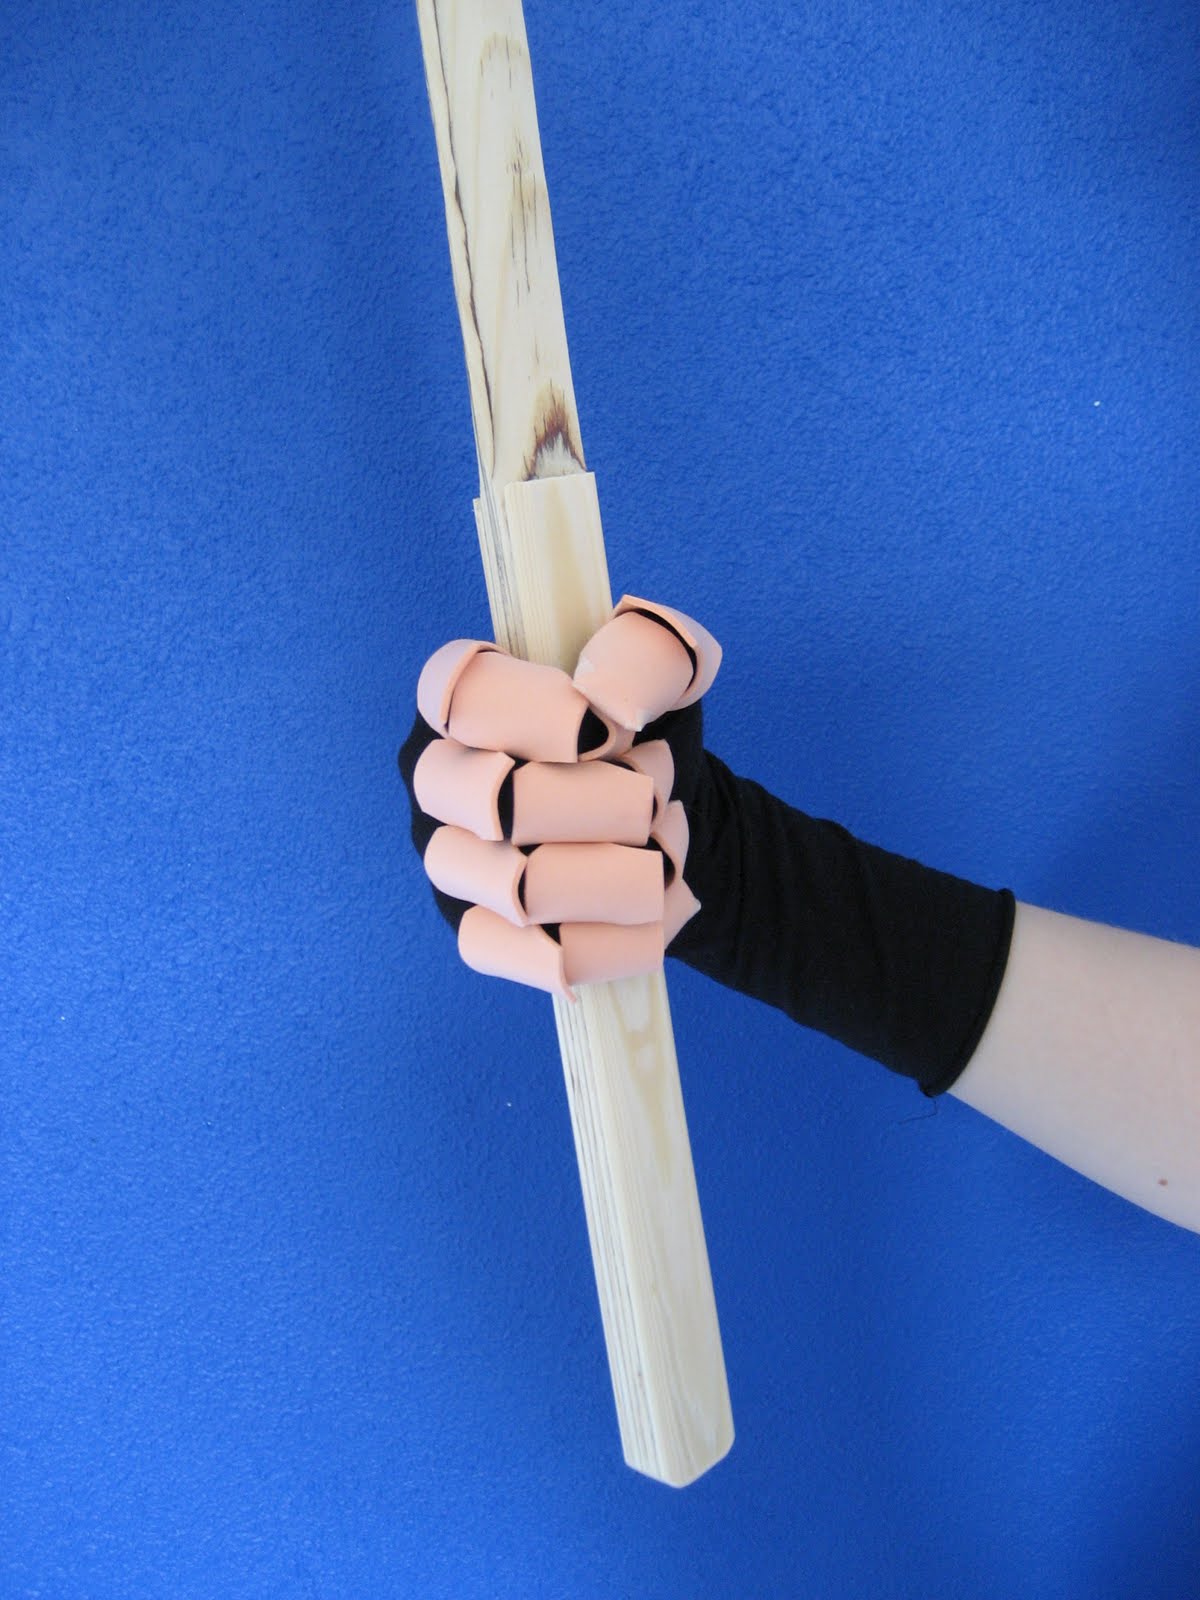
"--You pompous parrafin-headed pea-brain!" "En garde, you overgrown pocket watch!"

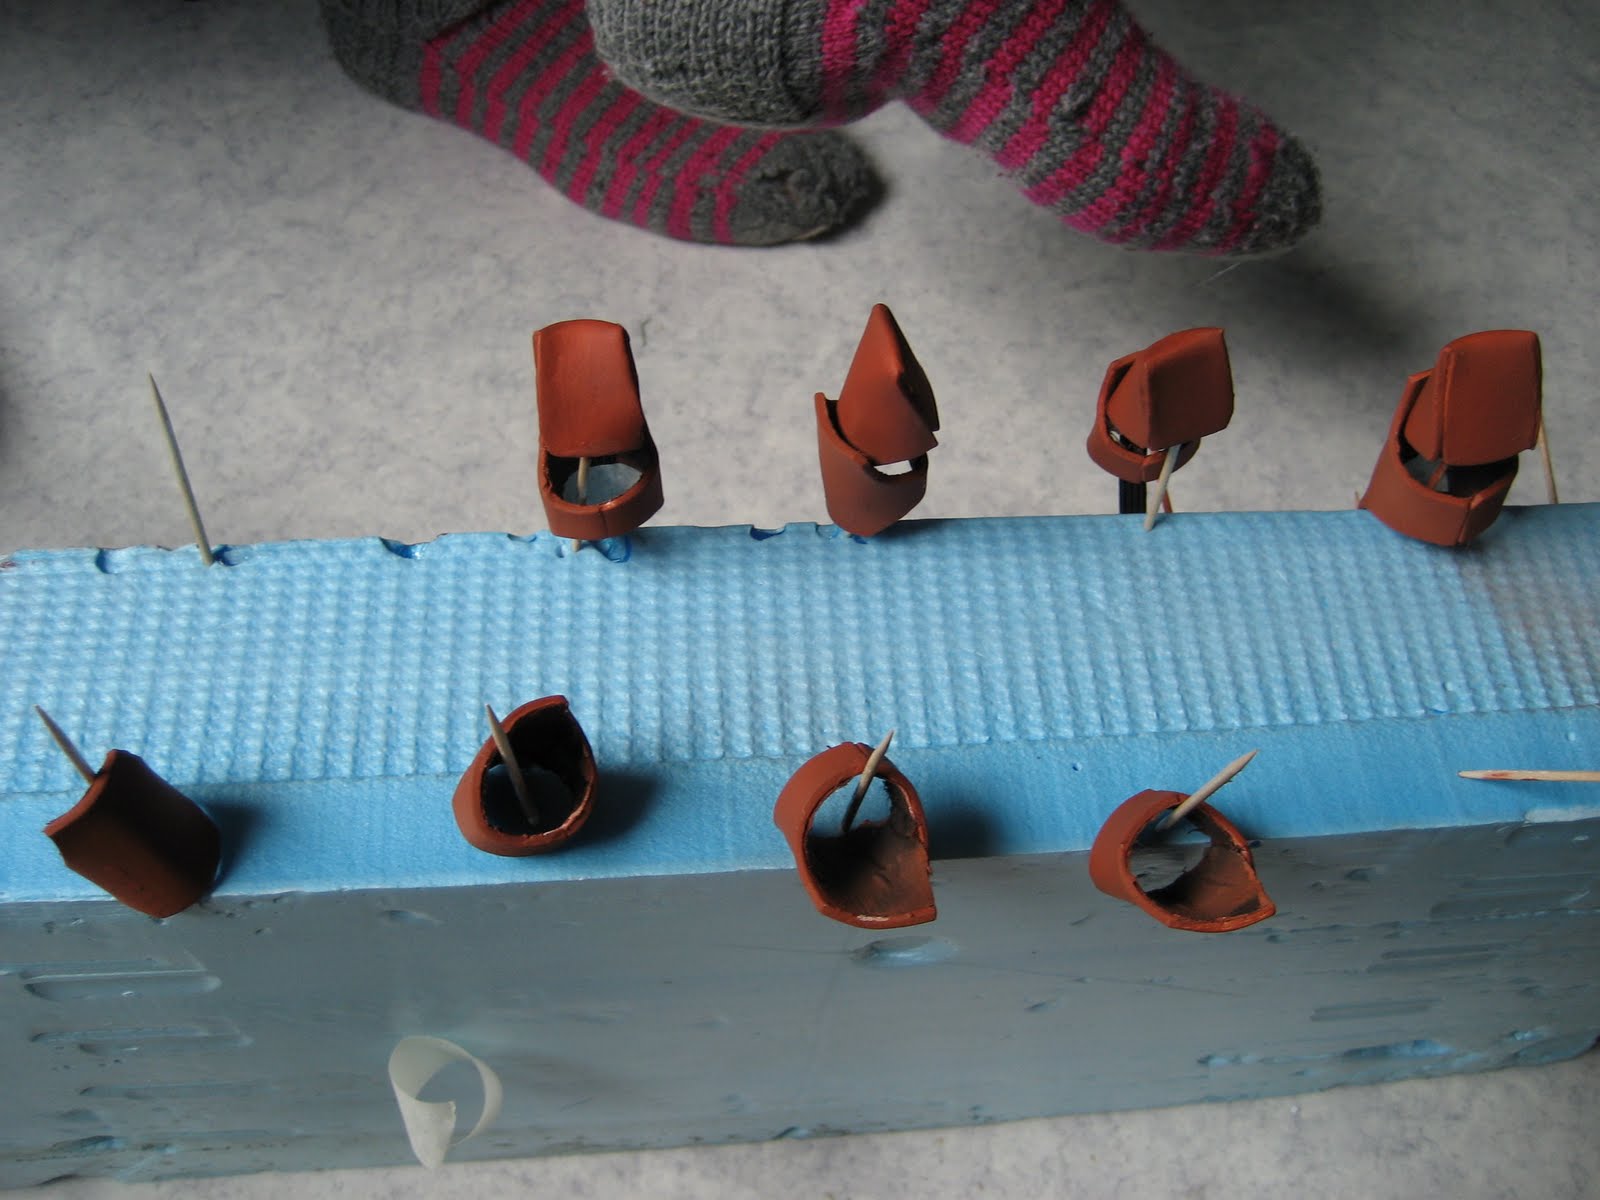
Even if we finally got a proper winter here in Finland, our thoughts are already wandering towards summer. Our convention plans are still wide open, but we hope we are able to attend as many as we can. We have planned to roll pretty much with our old costumes, like Yoshimitsu and Ivy. Wearing them again also would give us a boost to polish and work on the details, with which we had to take short cuts last year. Desucon’s quest of honor might finally force us to re-do Sasori and Deidara. Also we could finally do a proper construction post starring Sasori’s body, because we have had questions about it through the years.

Old costumes aren’t the only ones swirling in our heads. We have sketched a pair cosplay from Star Wars, lolita-Transformers mash-up (to satisfy Yoki and her little Transformers addiction) and what else. In my closet there is still some costumes waiting to be finished, yet I dream of doing more, like Sophie from Howl's Moving Castle.

Next to sewing costumes that I wasn't meant to, I also might do something very different; compete alone. Lately I’ve been thinking about attending to the EuroCosplay preliminaries in June. The idea is a bit weird, performing on my own and all, but Yoki promised to be my best supporter. We'll see what happens! Cosplayer's plans are... well, cosplayer's plans. You can't really write them in stone.

Oh yeah, Finnish people! Lappeenrannan ja Kouvolan Eurokankaissa on muuttomyynti, kankaista -20% ja rullan loput -50%. Valikoimaa on jonkin verran rajattu; esimerkiksi suurin osa peruspuuvilloista ja -trikoista on siirretty syrjään muuttoa odottamaan. Lappeenrannassa osa puuvilla- ja satiinikanteista on myös alennuksessa, sekä kasa riemunkirjavia vetoketjuja.

Last but not least:

Happy Valentine's day for all the humans~

January 23, 2012

"Yes, indeed, we aim to please!"


Lumiere and Cogsworth has been by far the most… expressive characters we have portrayed. I'd like to thank AG and co. who were at Desucon's photobooth on Sunday to capture the essence of the rivals in white pantyhose.

Photographer: Emilia Lahtinen


January 16, 2012

Lumiere and Cogsworth at Frostbite

In all we had a nice and refreshing convention last weekend. Desucon Frostbite lived up to the expectations we had formed from last year’s Desucon. But there was one difference and that was obviously the weather. We didn’t suffer from any of the over-heating problems we had with Luminara and Barriss, even if we strolled whole Saturday in Snowtrooper gear. For Sunday we changed to our new costumes. Here are the first photos of them. Lumiere and Cogsworth, s'il vous plaît.

January 4, 2012

False arm


Yoshimitsu's right arm was by far, the most complex prop I've ever done alone. Okay, okay! Hiron helped me out with fastenings and small stuff. The dummy was made from five different bigger components: under glove, fingers, palm, upper - and lower forearm.

Hiron made the black under glove by using a basic pattern. It both kept the parts better on their place as well as created the black joints and seams.


Fingers come together from 14 different pieces. They were made out of craft foam then glued to their cylinder shape by using a similarly shaped piece of black cloth on the inside. All parts were coated with several layers of water-glue mixture, which made the surface harder and protected the craft foam from the spray paint. Pieces of each finger were sprayed twice with russet primer, then once with glossy lacquer before they were connected with a black, flat rubber band that was glued on the inside.


The patterns for the fingers and the palm I found from the internet years ago. It was first made for Edward Elric but I had to do a rather dramatic remodeling so it would fit Yoshimitsu's design.

The palm was made out one cut-to-shape part that had two seams on the underside. The one going between the thumb and a middle finger was sealed with fabric and secured with tape. The other seam, going between my wrist and thumb, was fastened with three flat rubber bands. If the seam had been solid, I wouldn't have been able to put the palm piece on.

On the inner upper side of the palm, there was a piece of fiber fabric to make the back of the hand more firm. The piece was coated and painted just like finger pieces, and the same technique was used in the rest of the arm parts as well.


"What respirator?"

The upper forearm was made from nine pieces of craft foam and together they formed the big elbow ring and more narrow ring below it. The narrow ring was simple, it only had two pieces of craft foam which were supported with fiber fabric then glued to a cylinder shape. Why I made the ring out of two pieces instead of one is because Yoshimitsu's arm has two seams running all way down from the elbow to his wrist.

The big elbow ring was therefore made out of seven parts and inside the hollow ring was foam and fiber fabric to prevent the ring from collapsing. The rings were glued together with black fabric and final detailing was made with 12 pins that were on the both sides of the two major seams.


Moving between two work points was sometimes bit challenging.

The lower forearm was made out of two big pieces of craft foam that were supported with fiber fabric. Underneath was black fabric to keep the pieces together and small amount of velcro near the wrist to help to put on the dummy.

"I can see flying arm parts...."

The most outstanding feature of the arm were the 14 balls that were attached above the wrist. For the base, I bought paper balls, which was a adventure of its own as I was short of two balls. TWO! I was literally lying on the shop's floor and had my head inside the bottom shelf as I tried to reach the farthest boxes during my search. The paper mass balls were then covered with putty, sanded, coated with glue-water mixture and painted.


Fastening the balls was teamwork. I filled holes in the balls with hot glue then pushed ends of the fishing line strand into the glue. Now we had a fishing line loop. Hiron made fourteen small holes to the forearm, threaded a strong yarn through the loop and hole then made a knot inside the forearm piece. Knots were then secured with glue so that Yoshimitsu wouldn't lose his balls during a fight!


-yoki, out

January 1, 2012

Moustaches et le patch

Last weekend we had a good laugh while trying on the wigs for our next characters. I had trouble keeping my composure after I had put the brown curly wig I had purchased for Cogsworth on Yoki’s head. She looked so bizarre with long hair! When we started our cosplay journey she actually had hair as long as the wig, so it shouldn’t have been that funny. I’m just so used to her short cut and the girly curls just seemed little out of place. The fun truly began when we applied the rolls Cogsworth has on the sides. We thought that we would die from laughter. And after I had finished the front tuft on my honey blond locks, we questioned if we could ever wear the costumes in public.


But something happened after I applied some make-up on us both and Yoki taped the mustaches on. Excuse me, Yoki’s face, what kind of miracle-maker are you? How anyone can look even remotely sane with those obscene hair rolls and mustaches? I’m seriously leaning to the idea that Yoki could look nice even as Gollum. To spice up Lumiere’s get-up I added a patch to accent his flamboyant nature.


I think Yoki will have the last laugh though. I’m going to wear crazy paned trunk hose after all.